Cart (0)
Your basket is currently empty.
Live chat and helpline open between 7:00am – 5:00pm

Live chat and helpline open between 7:00am – 5:00pm

On all products ordered before 3:00pm

On all orders over £100

Find out what our customers are saying

No Quibble returns up to 14 days from purchase
Ever finished tiling a wall or splashback, only to realise the edges look unfinished or messy?
That’s where tile edge trim comes in.
Edge trim isn’t just about making things look neat. It protects tile edges from chipping, gives your work a clean professional finish, and helps your installation stand the test of time. Whether you’re tiling a bathroom wall or a kitchen splashback, this guide will help you understand the types of tile trim available and how to choose the right one.
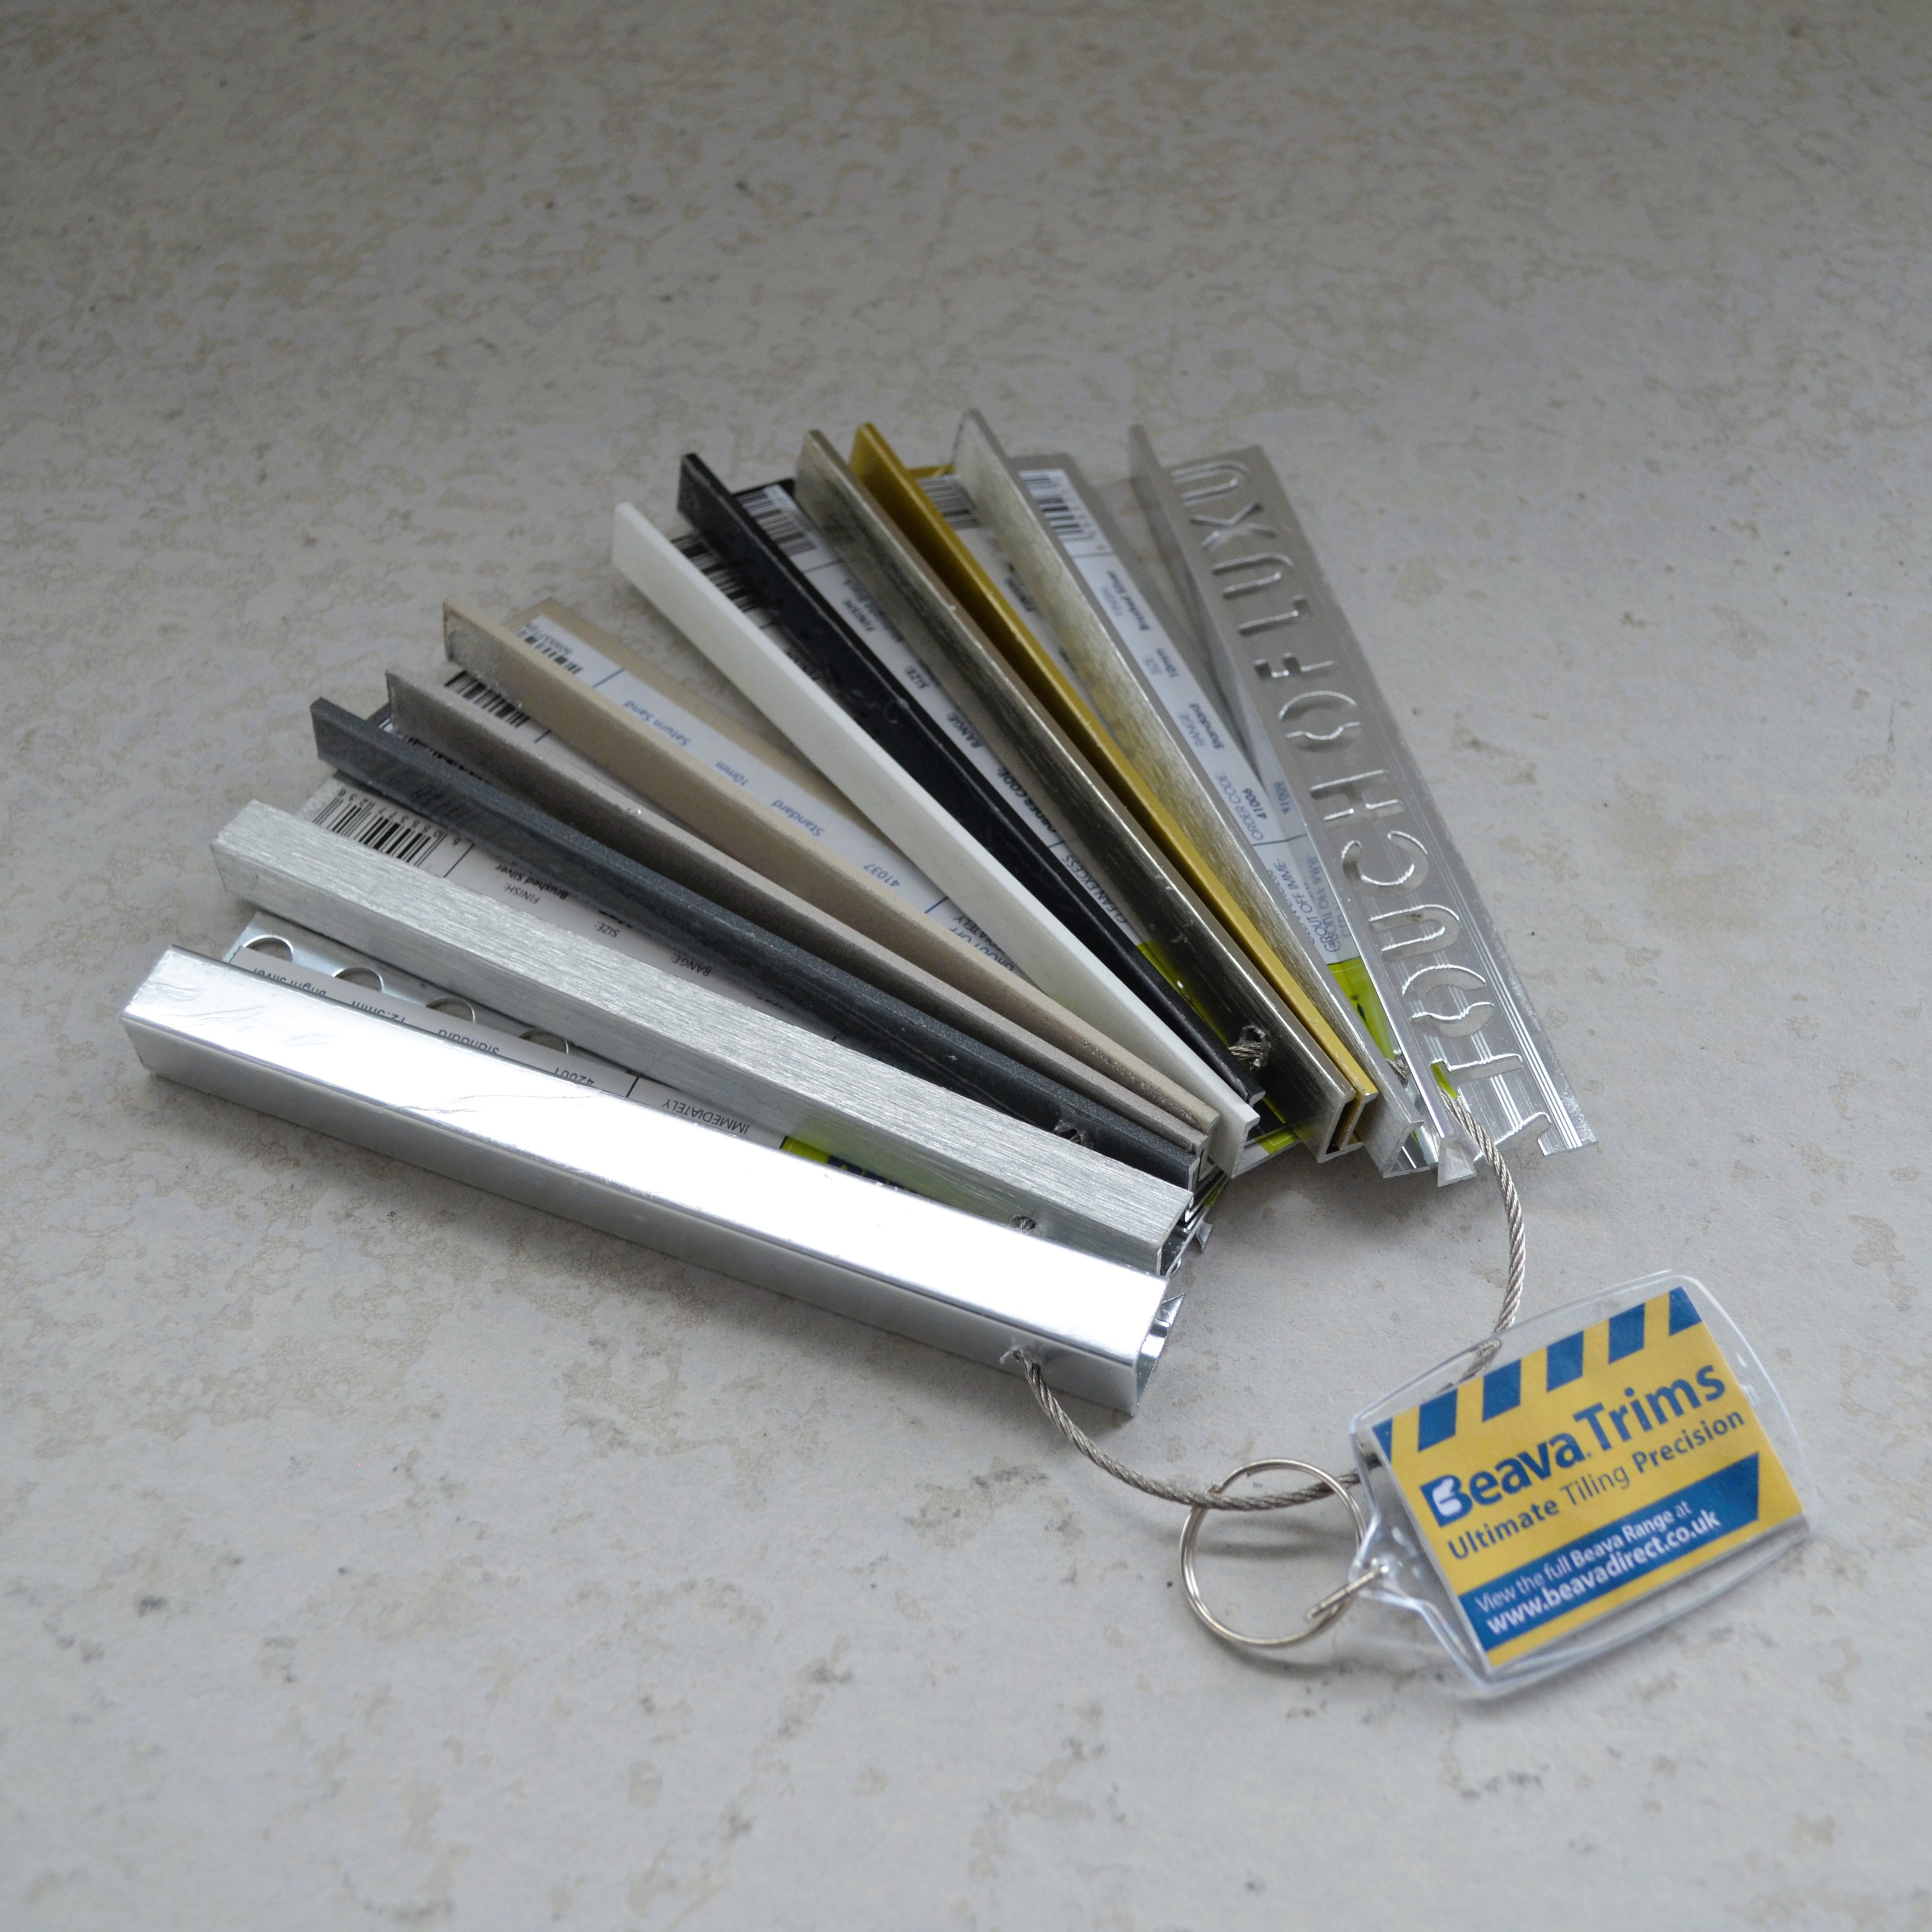
Tile edge trim is a narrow strip- usually aluminium, PVC or stainless steel - designed to finish off the exposed edges of tiled surfaces. It replaces the need for grout or silicone in places where a tile ends without a corner or return.
You’ll see it used on:
Trim gives a cleaner, more professional look and avoids sharp tile edges being exposed.

Trims aren't just decorative, they serve practical functions:
A clean, subtle profile that wraps around the tile edge.
Best for: splashbacks, windowsills, wall edges
Product Example: Beava Classic L-Shape Tile Trim Bright Silver
Creates a bold, modern corner finish. Popular in high-end bathrooms.
Best for: feature walls, bath surrounds
Product Example: Beava Unique Box Tile Trim - Space Grey
A curved trim for a softer, more traditional finish.
Best for: older homes, soft transitions
Product Example: Beava Deluxe Round Edge Tile Trim - Bright Silver
This is one of the most common mistakes: picking a trim that’s too thin or too deep.
Quick guide:
If in doubt, measure your tile with calipers or a ruler, then round up.
Choosing the right finish can enhance your design or help the trim blend in.
Popular finishes at Beava Direct:
Browse our wide range of tile trims
You can match trim to taps, handles, tile grout, or even contrasting fixtures for visual impact.
Use tile trim anywhere an edge is left exposed:
If your layout includes sharp tile ends or visible corners, always plan for trim early.
It’s easy to overlook edge trims but skipping them is like painting a wall and leaving the skirting off.
With Beava’s wide range of trim profiles, finishes and sizes, there’s a perfect match for every project.